A Beginner's Guide to Coastal-Themed Model Railroading
Coastal-themed model railroading is one of the most approachable ways to start a layout with real character. A seaside setting needs fewer buildings than a dense city, and the sea itself gives the scene a natural edge. This guide walks through the early decisions a newcomer needs to make, from scale and footprint to track and scenery.
The guidance suits hobbyists who have a few tools and some experience with kits but have not yet built a complete scene. It focuses on practical steps rather than specific products. An overview of the company that produced many of the reference pieces is on the about page, and you can adjust the details to fit your own space, budget and era.
Choosing a Scale and a Footprint
Scale decides how much detail fits into a given space. Smaller scales let you include more of a town in the same footprint, which suits a long, narrow shelf or a harbor that stretches along one wall. Larger scales give more room for detail on buildings, figures and vehicles, but they need more space and a bigger budget for materials.
Measure your space before you buy anything. A footprint of about two by four feet is a common starting point for a compact coastal scene, but a smaller shelf works if you keep the track simple. Sketch the plan on graph paper so you know where the water, the track and the main buildings will sit before cutting any material.
Think about access as well. A layout that is out of reach or sits in a corner you cannot walk around becomes frustrating to maintain. Leave a clear working edge on at least one side, and plan the water and shoreline so that you can reach them for repairs. Think about lighting height as well, since a lamp placed too low can throw shadows across the water.
Laying Out the Track Around a Harbor
A harbor is a good excuse for a short, interesting track plan. A single loop with a branch to a quay gives room for shunting, a spur for wagons and a visible route that passes the water. Keep curves gentle where the track sits close to buildings, so that rolling stock does not look cramped against walls.
Think about where the track runs relative to the sea. A line that hugs the shoreline looks dramatic and suits a seaside station, while a line that cuts inland suggests a more industrial port. Test the layout with a few cars before you fix the track, because clearances near piers and sea walls are easy to misjudge.
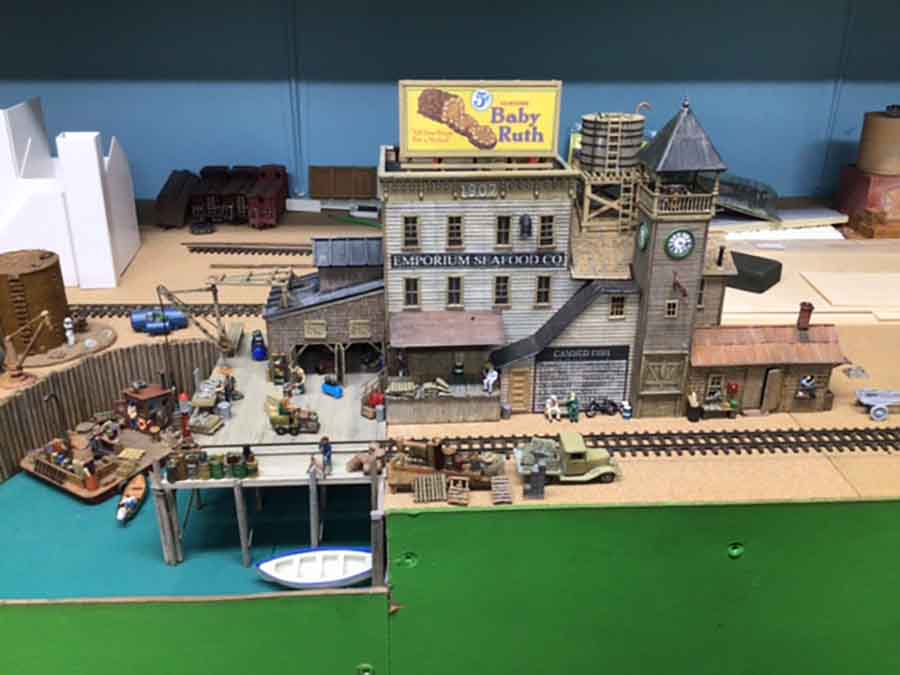
Plan the wiring at the same time as the track. Feeders hidden under the quay or behind a sea wall keep the surface clean, and it is much easier to route them before the scenery goes down than after. Check the minimum curve radius your rolling stock needs before you choose the track plan, since a tight curve at the quay can derail longer cars. Mark the route on the baseboard with masking tape first.
A Step-by-Step Approach to the Waterline
The waterline is where most beginners struggle, so take it one stage at a time. The steps below give a sensible order for a simple coastal base.
- Build the land base at the planned height, leaving a clear edge for the shore.
- Shape the shoreline with a mix of rock, sand and paved edging, then seal it.
- Lay or pour the water surface, keeping it slightly lower than the land so the edge reads clearly.
- Add a dark base tint to the water, then a lighter translucent layer near the shore.
- Finish with a thin gloss coat and check the result under the lighting you plan to use.
Allow each stage to cure fully before moving on. A rushed water surface can wrinkle, cloud or crack, and repairing it later takes far more work than waiting an extra day. Work in a dust-free space, since loose grit that settles into a wet surface will show clearly once the gloss coat is applied. Mark the shoreline position on the base before you start, so the water edge stays consistent across each coat.
Buildings and Scenery That Read as Seaside
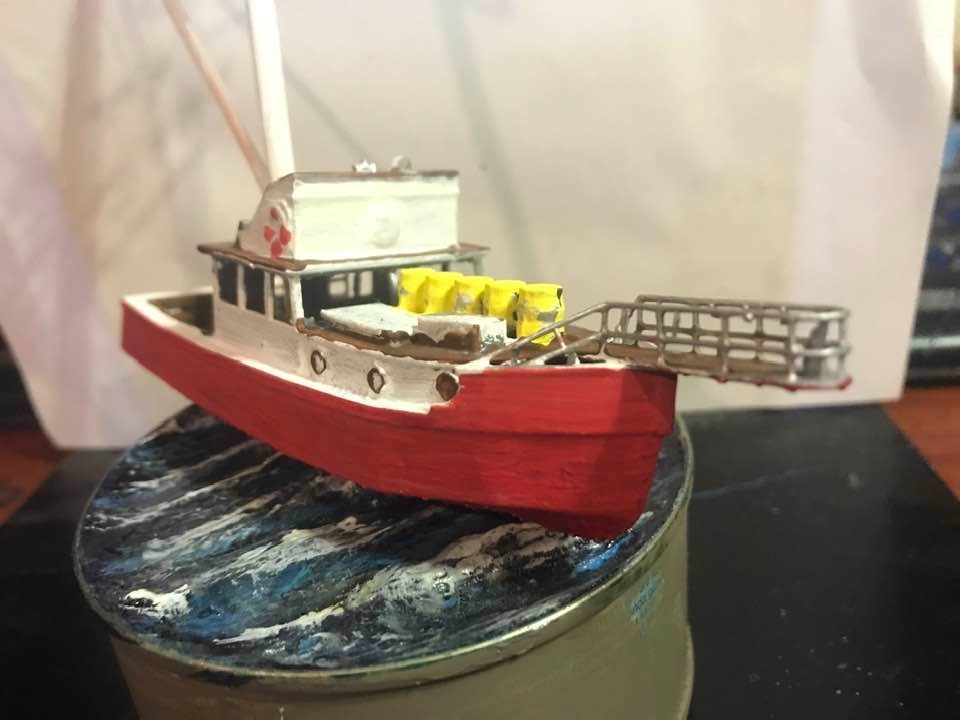
Choose buildings that match the coastal theme. Harbor offices, fish houses, lighthouses, sheds and small hotels make the strongest impression. Vary their age and paint, and add weathering to walls near the water, where salt and damp leave visible marks. A few mismatched structures make a scene feel real.
Model Power's archived range included building and scenery items over several years, and the archived category pages show how those products were grouped. Browsing the category index can help you think about which structures and scenery pieces were offered historically. Use the archive as a source of ideas, and rely on your own plans for the final scene.
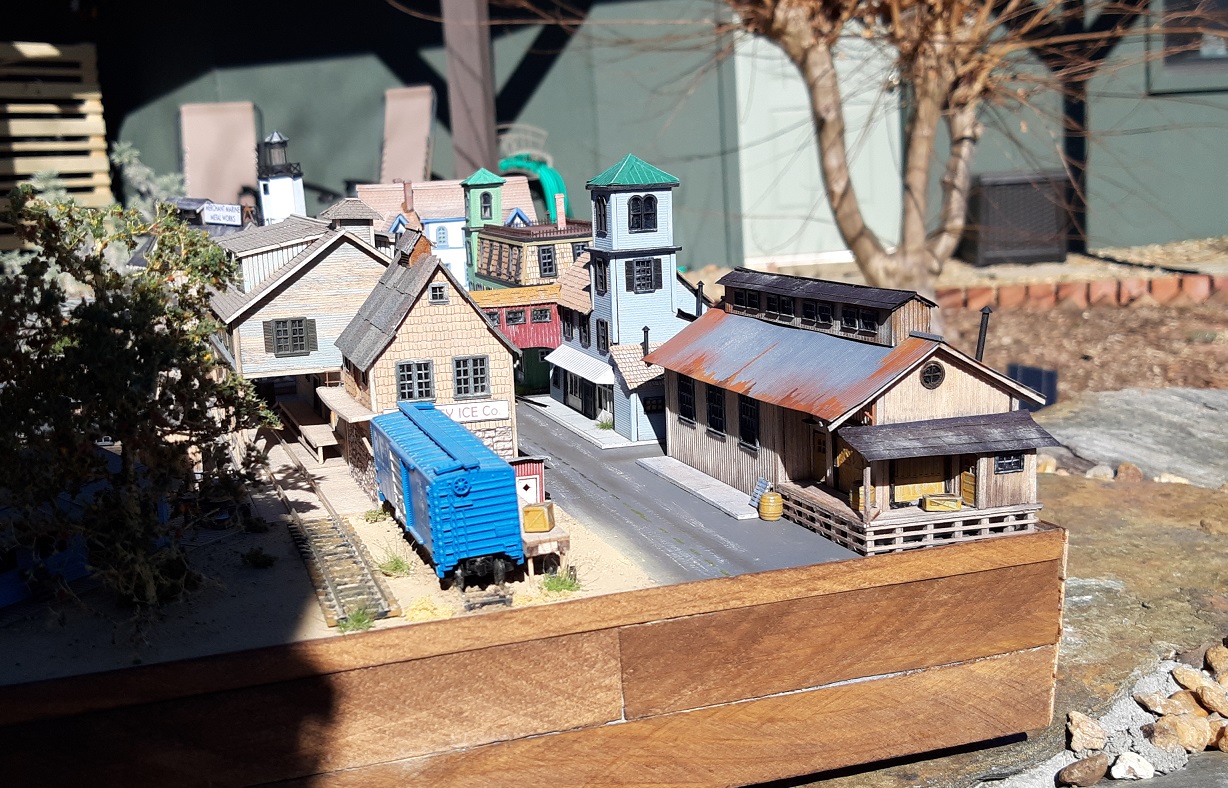
Scenery should support the water rather than compete with it. Keep low plants and gravel near the shore, and reserve taller planting for the edges of the layout where it frames the view. Look for a consistent light source across the buildings, so shadows fall the same way on every facade. A row of mixed structures reads as a town, while one large building on its own tends to look like a model on a board.
Adding Finishing Touches
Small finishing touches tie the scene together. Add bollards, nets, buoys, crates and a few boats near the quay. Use fine sand or ground foam for beaches, and place a few tufts of grass where walls meet the earth. Keep the amount of detail balanced, so that the eye has places to rest. A product listing in the archived product index can help you judge whether a boat or bollard suits the scale you are working in. Leave a few open spaces on the quay for future additions. Work outward from the focal point, adding a little detail at a time.
Once the basics are in place, stand back and look at the scene from the viewing height. Adjust anything that stands out too strongly, and remove items that compete with the main features. A calm scene with a clear focal point usually works better than a crowded one.
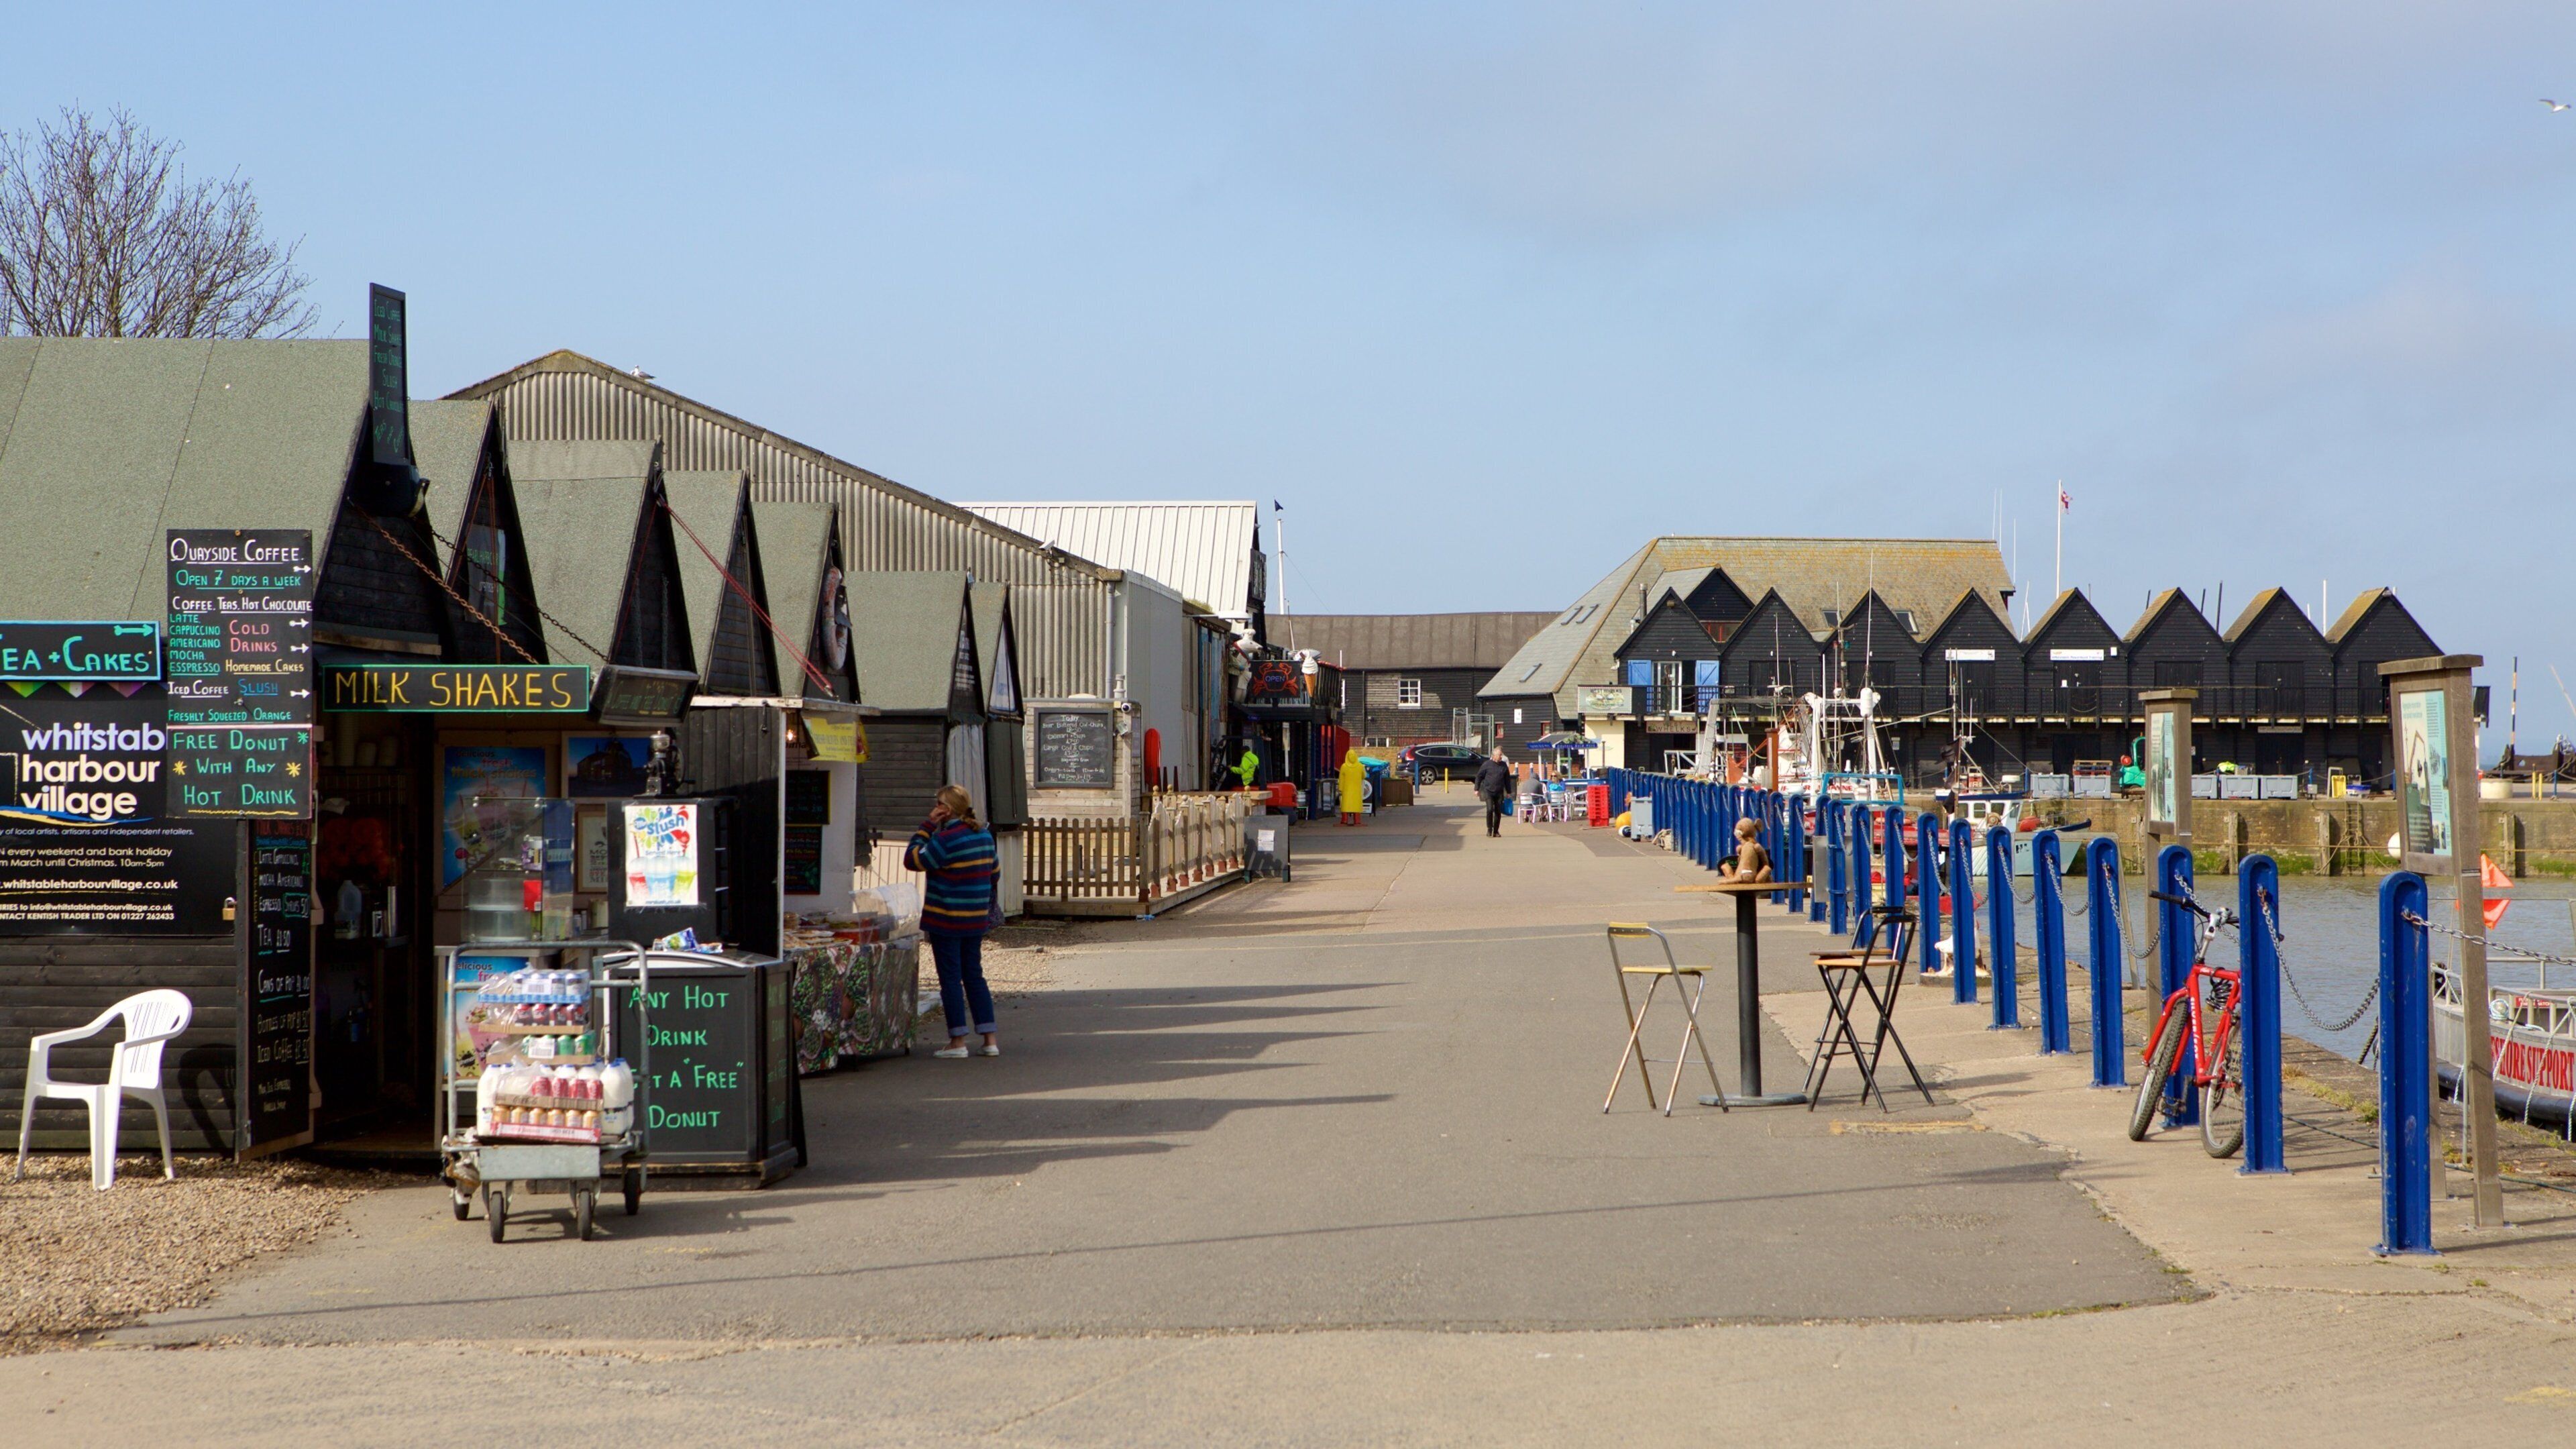
Photograph the finished scene under the lighting you use every day. The photograph shows problems that are easy to miss in person, such as a stray glue mark, an oversized figure or a shadow that falls in the wrong place.
Frequently Asked Questions
What is the simplest coastal layout for a beginner?
A single harbor corner with one building row, a short quay and a simple track loop works well. Keeping the number of structures low makes the water and shoreline easier to get right. You can expand the scene later once the basics feel comfortable.
Do I need specialist tools for the water effect?
A few basic tools are enough, including brushes, a palette and a sealed mixing container. Specialist resins can help, but they are not essential for a first attempt. Practice on a small test board before starting the main scene.
How long does a coastal diorama take to build?
Time depends on size, detail and how long the finishes need to cure. A small harbor corner can take several weekends, especially if the water needs multiple coats. Plan for drying time between steps.
Should I use a real photograph as a guide?
Yes, reference photographs help with proportions and color. Use them as a starting point, then adjust the scene to suit your space and era.